DB 테이블 생성
1) 마이그래션 파일 만들기
~/www$> php artisan make:migration create_test_table –create=test
Created Migration: 2019_12_24_010708_create_test_table
2) 컬럼 추가 편집
~/www/database/migrations $> vi 2019_12_24_010708_create_test_table.php
<?php
use Illuminate\Database\Migrations\Migration;
use Illuminate\Database\Schema\Blueprint;
use Illuminate\Support\Facades\Schema;
classCreateTestTableextendsMigration
{
/**
* Run the migrations.
*
* @return void
*/
publicfunctionup()
{
Schema::create(‘test’, function (Blueprint$table) {
$table->bigIncrements(‘id’);
$table->string(‘subject’);
$table->text(‘contents’);
$table->timestamps();
});
}
/**
* Reverse the migrations.
*
* @return void
*/
publicfunctiondown()
{
Schema::dropIfExists(‘test’);
}
}
3) 편집된 테이블 생성~/www$> php artisan migrate
Migrating: 2019_12_24_010708_create_test_table
Migrated: 2019_12_24_010708_create_test_table (0.3 seconds)
4) 테이블 확인
mysql> desc test ;
+————+———————+——+—–+———+—————-+
| Field | Type | Null | Key | Default | Extra |
+————+———————+——+—–+———+—————-+
| id | bigint(20) unsigned | NO | PRI | NULL | auto_increment |
| subject | varchar(255) | NO | | NULL | |
| contents | text | NO | | NULL | |
| created_at | timestamp | YES | | NULL | |
| updated_at | timestamp | YES | | NULL | |
+————+———————+——+—–+———+—————-+
5 rows in set (0.00 sec)
5) 컨트롤(Controller) 파일 만들기 ( 아래 옵션을 통해 Test model 같이 만듬 )
~/www$ php artisan make:controller TestController -r -m Test
A App\Test model does not exist. Do you want to generate it? (yes/no) [yes]:
> yes
Model created successfully.
Controller created successfully.
6) 컨트롤 파일(TestController.php) 편집
~/www/app/Http/Controllers$ vi TestController.php
<?php
namespaceApp\Http\Controllers;
use App\Test;
use Illuminate\Http\Request;
classTestControllerextendsController
{
/**
* Display a listing of the resource.
*
* @return \Illuminate\Http\Response
*/
publicfunctionindex()
{
returnview(‘test.index’);
}
7) 라우터(routes) 의 web.php 파일에서 URL 설정
~/www/routes$ vi web.php
<?php
/*
|————————————————————————–
| Web Routes
|————————————————————————–
|
| Here is where you can register web routes for your application. These
| routes are loaded by the RouteServiceProvider within a group which
| contains the “web” middleware group. Now create something great!
|
*/
Route::get(‘/test’,’TestController@index’);
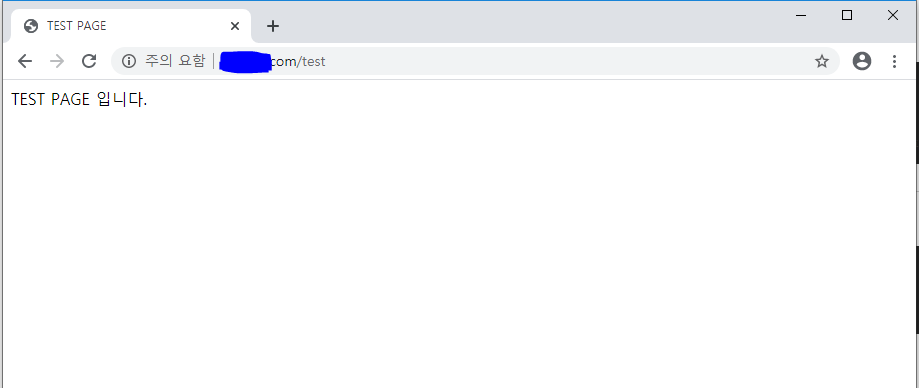
8) http://도메인/test 실행시 보이게 하는 view 파일 만들기
~/www/resources/views/test$ vi index.blade.php
<!DOCTYPEhtml><html>
<head>
<title>TEST PAGE</title>
</head>
<body>
TEST PAGE 입니다.
</body>
</html>
9) http://도메인/test 확인